Aluminium Foundry
After taking inspiration from a number of furnaces seen on YouTube, I decided to build a furnace, or home foundry, for melting aluminium. I didn’t have anything in particular that I wanted to cast, but was just generally interested in creating a foundry hot enough to melt metal.
Electric Foundry
I settled on an electric furnace design as it seemed to be the easiest and safest method—cheaper than propane, simpler to control, and I was already familiar with electrical systems. I sourced high-temperature bricks and tiles from a refractory brick supplier (firebricks.co.nz), capable of withstanding temperatures of 1000°C (1832°F), and 2kW nichrome heating element wire from eBay. To hold the furnace together I used modular workshop shelving from a hardware store which bolted together like Meccano.
The electric version cost approximately 200 NZD (£100/$120) for materials and took a weekend to construct. The furnace ran on 230V AC mains power, drawing about 8.7 amps with simple on/off control—no temperature monitoring or control system.
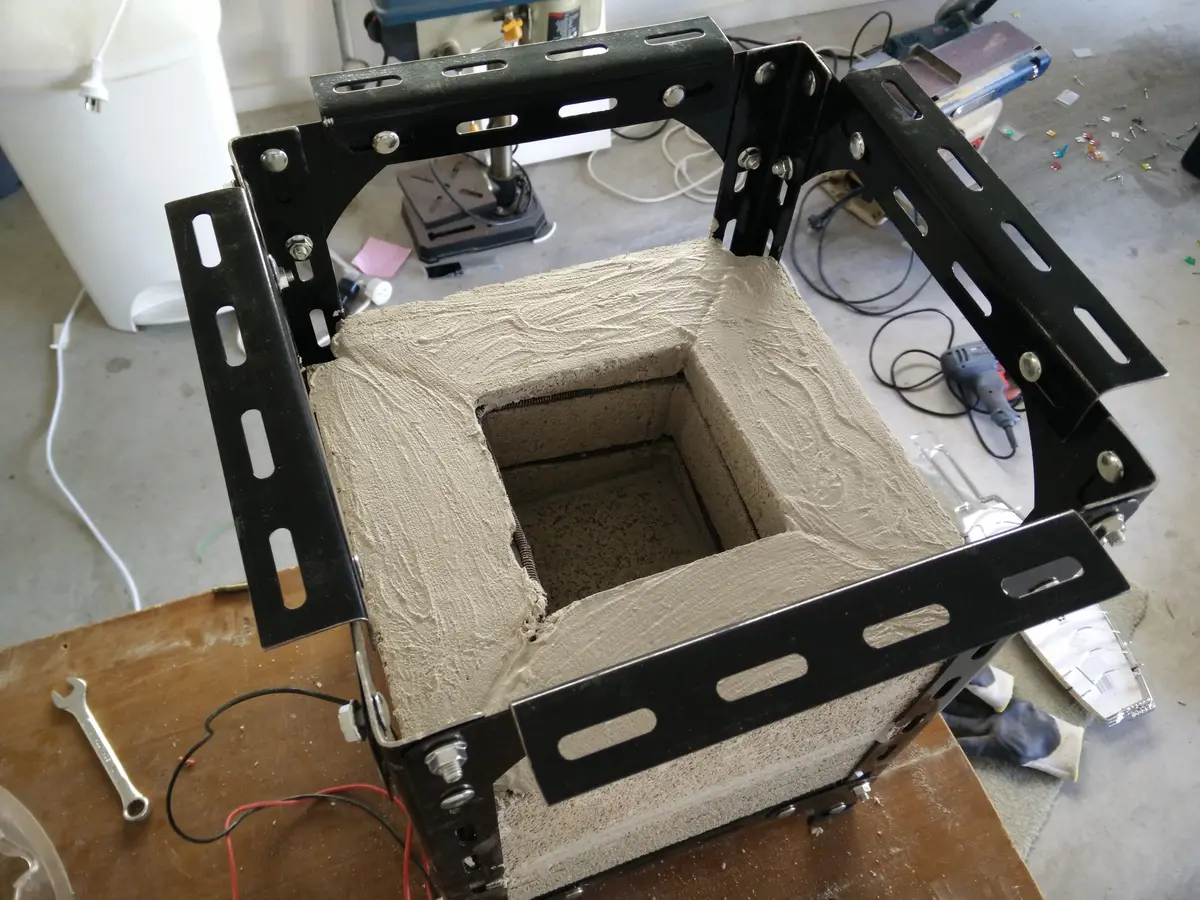
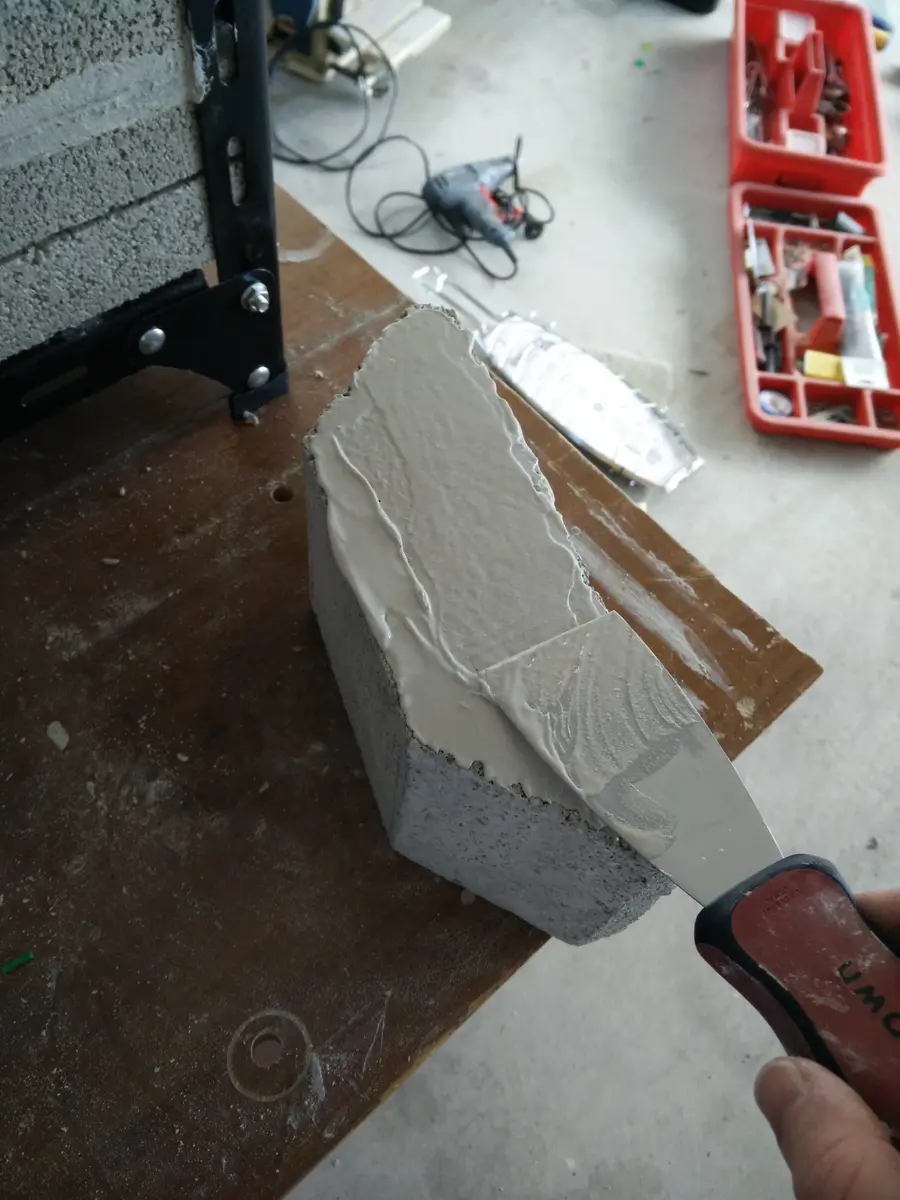
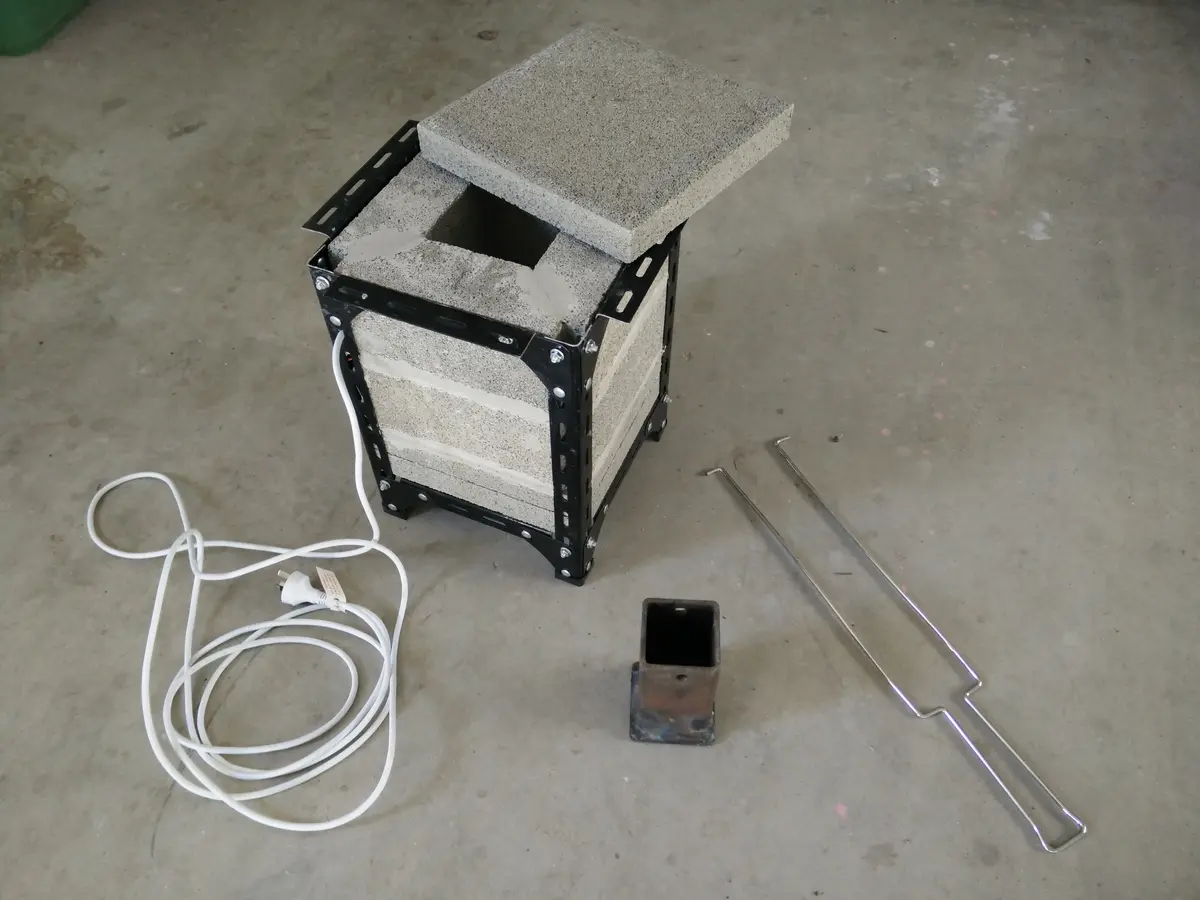
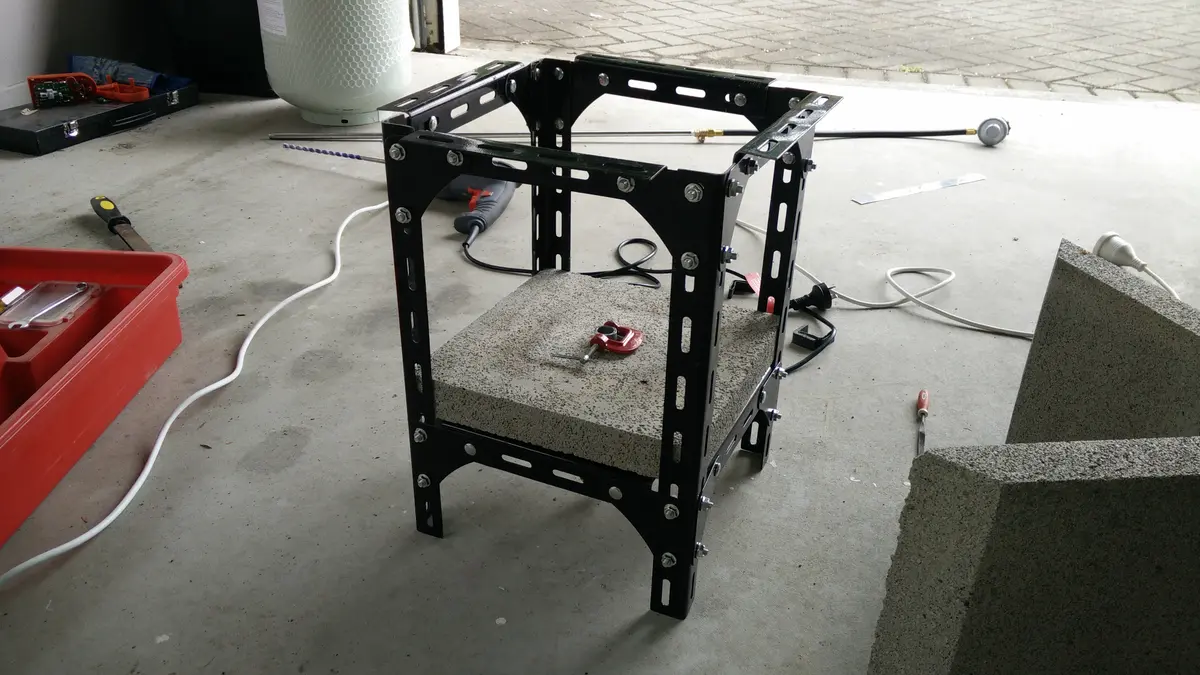
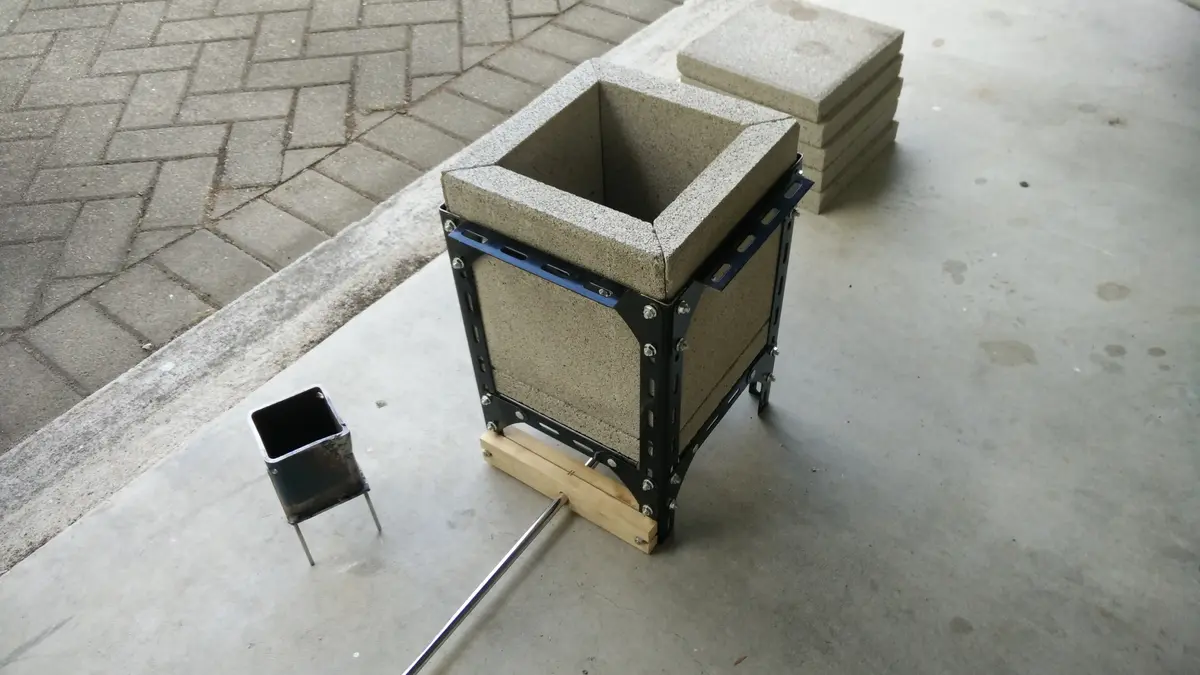
The first image shows the initial frame assembly. The electric element wire was embedded in the fire-bricks as they were being cemented together. The completed unit is shown ready for initial testing. As a crucible, I cut and welded a section of 40mm (1.6”) box-section mild steel to a steel plate. Two holes were drilled into the sides of the crucible, which allowed tongs to lock in for raising and lowering into the furnace, as well as pouring the molten aluminium out.
Safety Considerations
The electric furnace was operated with RCD (residual current device) protection in the garage, with the garage door always open for ventilation. Protective goggles and a filtered face mask were used when cutting fire-tiles to prevent inhalation of dust particles.
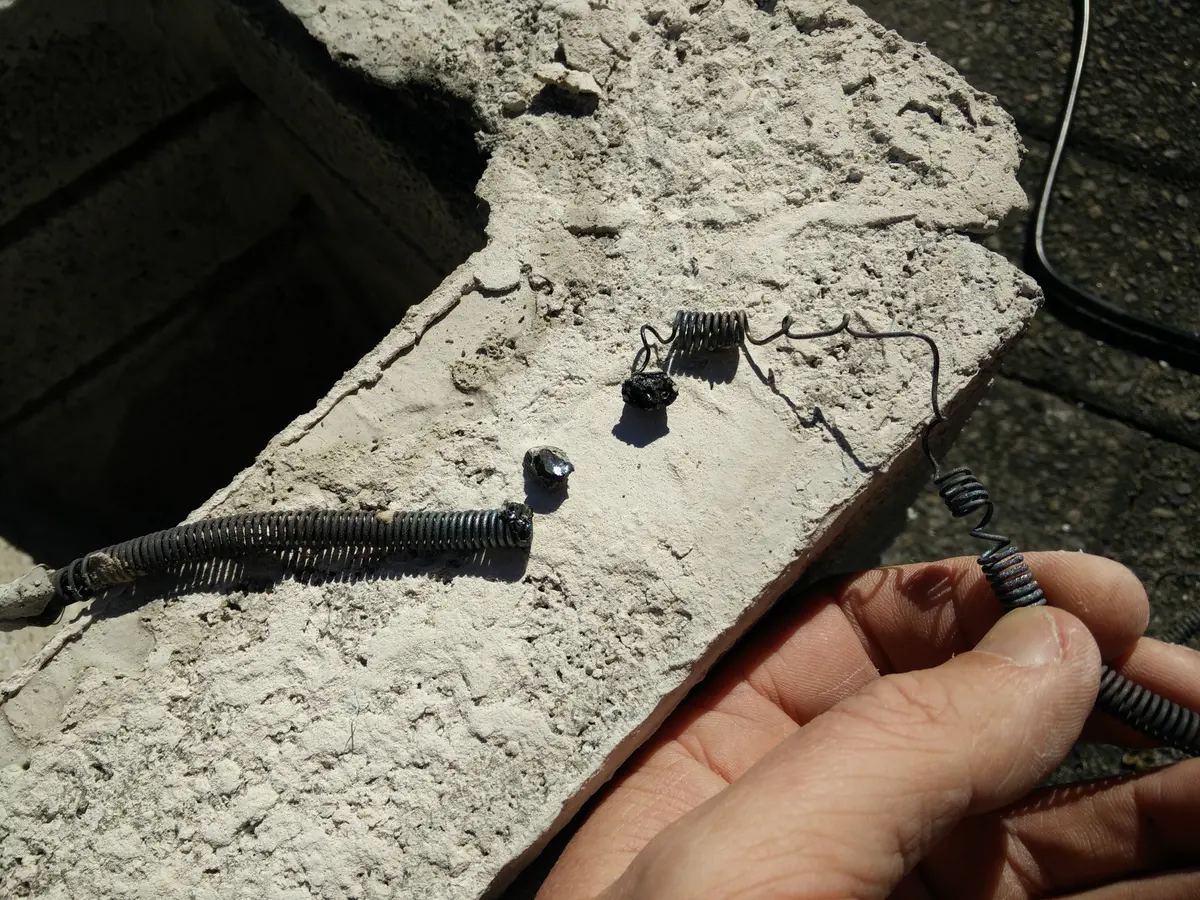
Electric System Failure
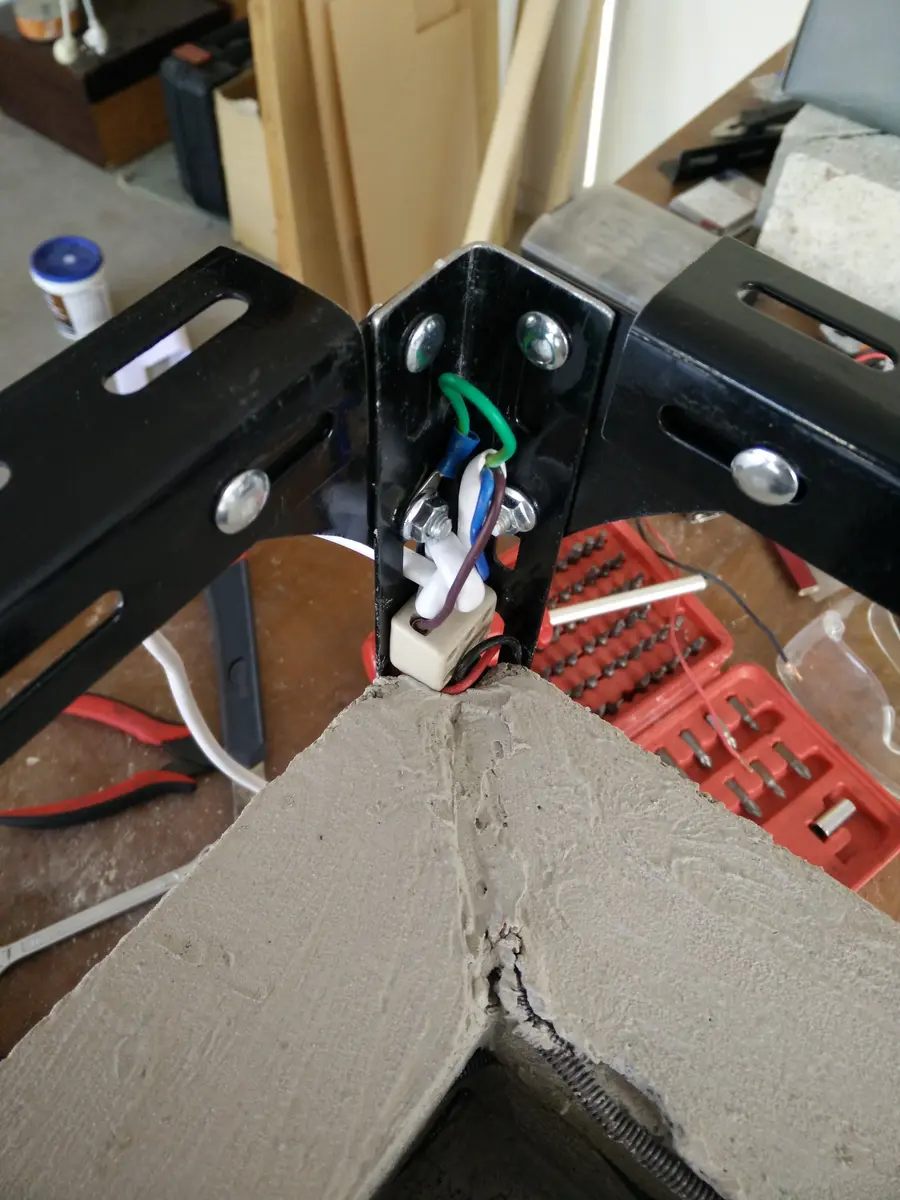
Unfortunately, after running the furnace for about 30 minutes, the electric element wire burnt itself out. After replacing the element, the same problem occurred. Looking back, I believe this was due to several factors: firstly, I may not have uncoiled the nichrome wire sufficiently, potentially causing shorts where the wire touched itself. Secondly, embedding the wire directly into the insulating fire-bricks likely created hot-spots, particularly in the corners of the square chamber. A round chamber design might have provided better heat distribution. The wire was correctly sized for the 2kW power requirement, so the failures were likely due to poor installation technique rather than undersized components.
In the end, I broke the bricks apart and added an entry hole for a propane torch.
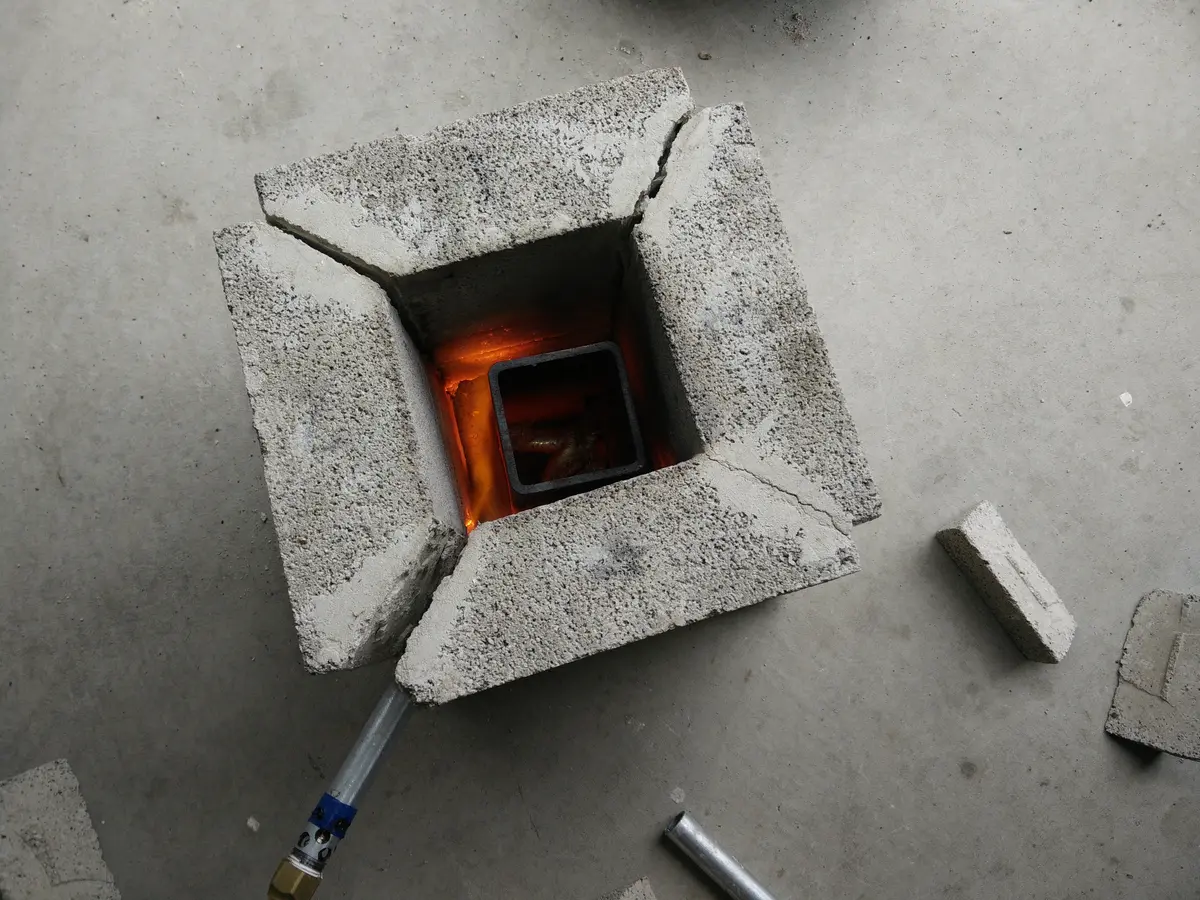
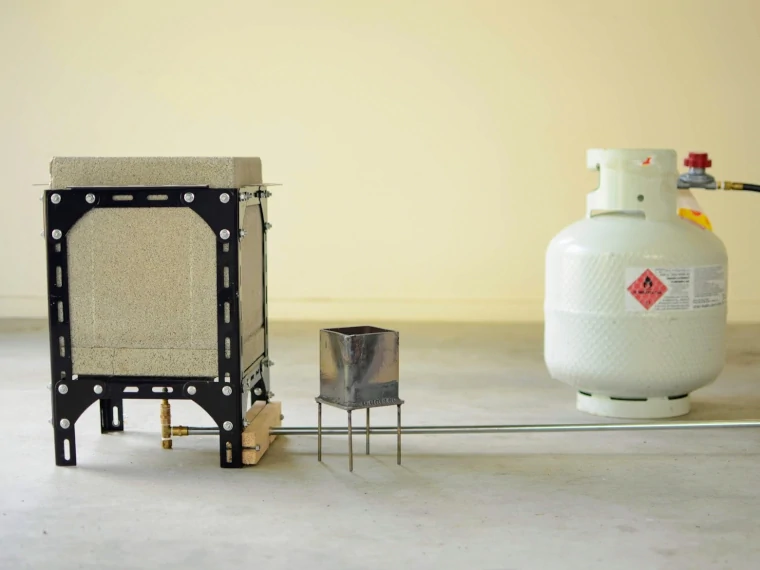
Propane Foundry
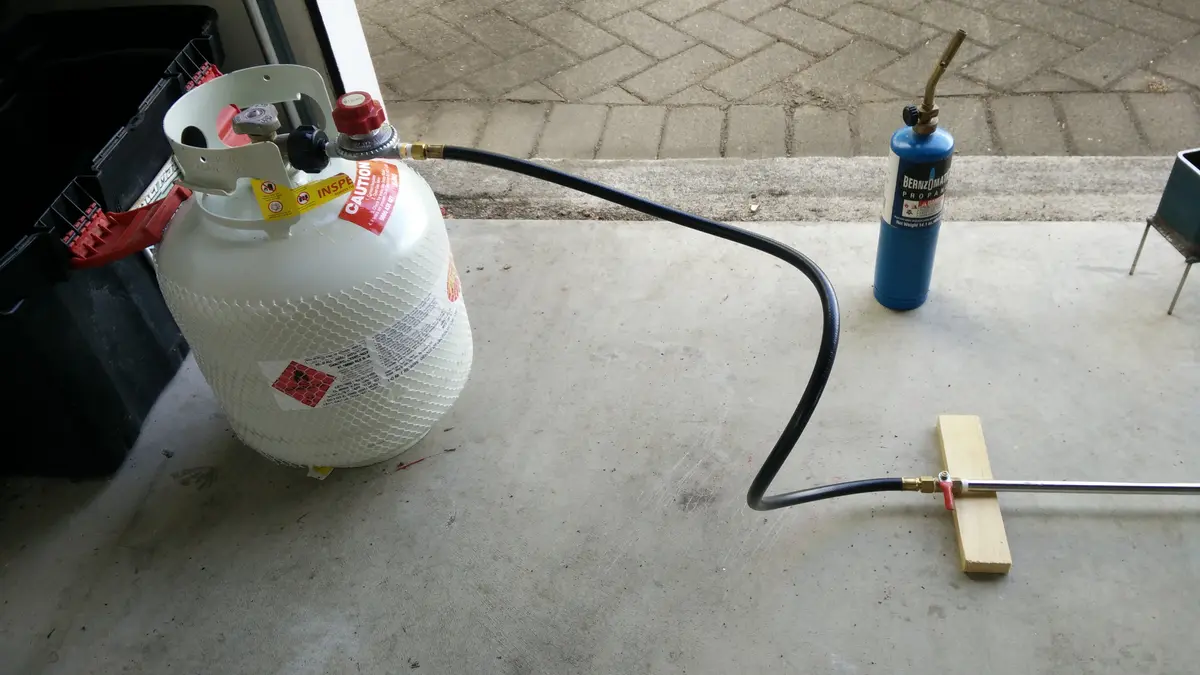
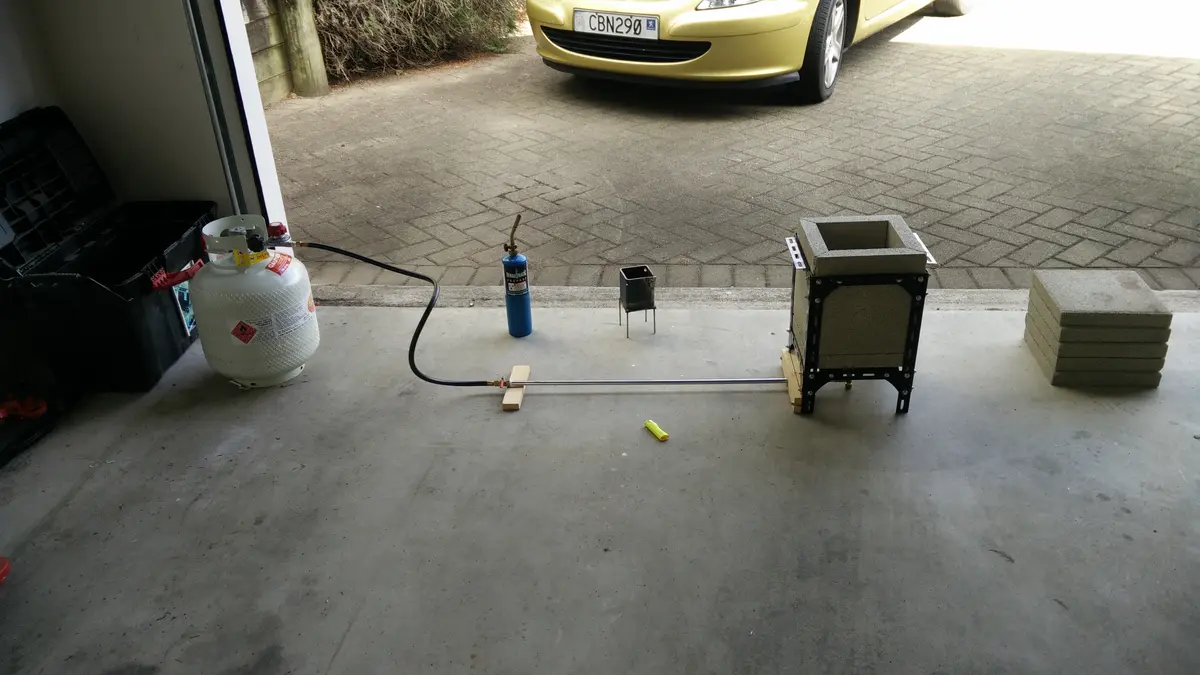
For the second version of the foundry I decided to have the propane torch come up from the underside of the furnace to keep the heat even. I reused the same frame, but instead of using fire-bricks, I used fire-tiles which were thinner. The propane setup cost approximately 300 NZD (£150/$180) including the bottle, adjustable regulator, fittings, and flashback arrestor for safety.
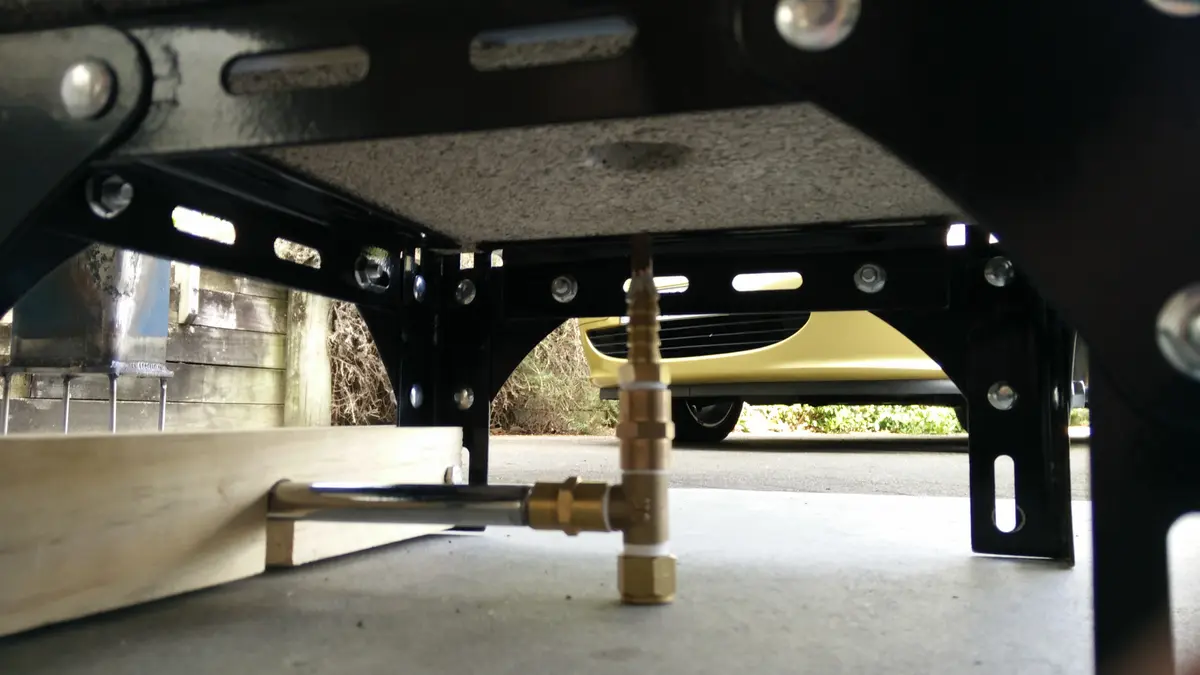
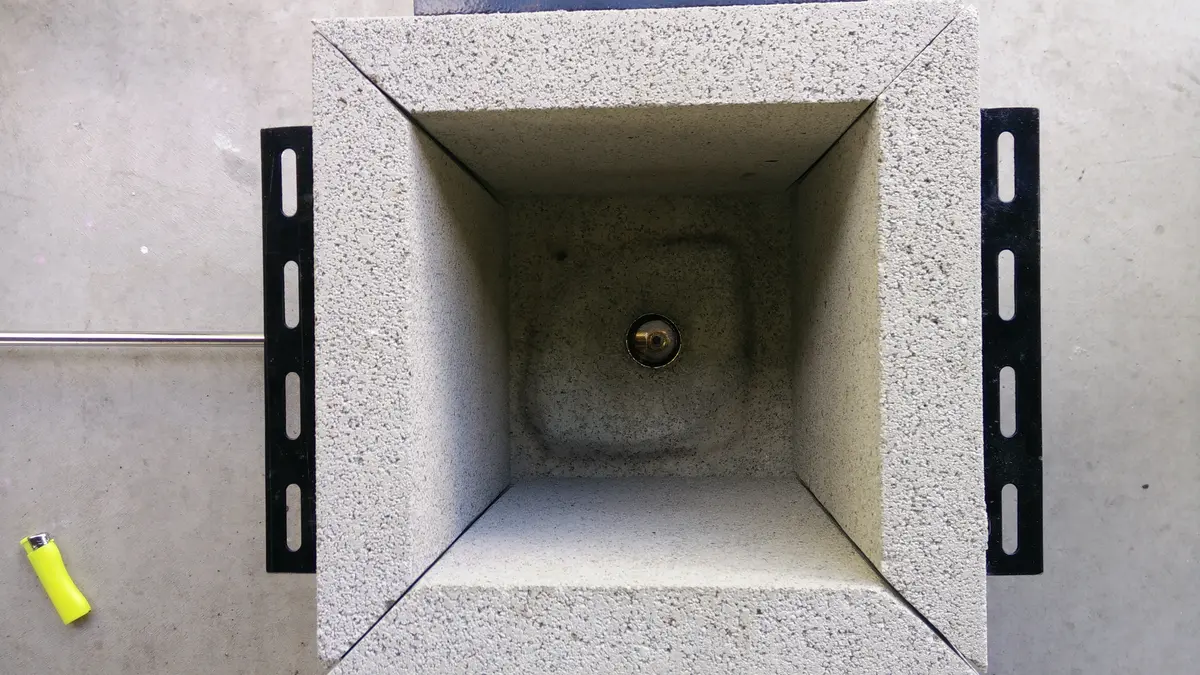
A length of wood was bolted to the frame to keep the burner in position.
The burner itself was made from a combination of pneumatic tool fittings, a MIG welding handpiece insert that I brazed to the inside of a hose connection fitting, and a long pipe with tap that I purchased from the BBQ section of a hardware store. The adjustable propane regulator was purchased from eBay.
Final Result
Casting Trial
As a trial, I had made a stainless steel mould to see if I could cast a small hexagon. It was made from 8mm laser cut stainless steel plate that was stacked to make a hexagonal cavity. The animation below shows how it was constructed.
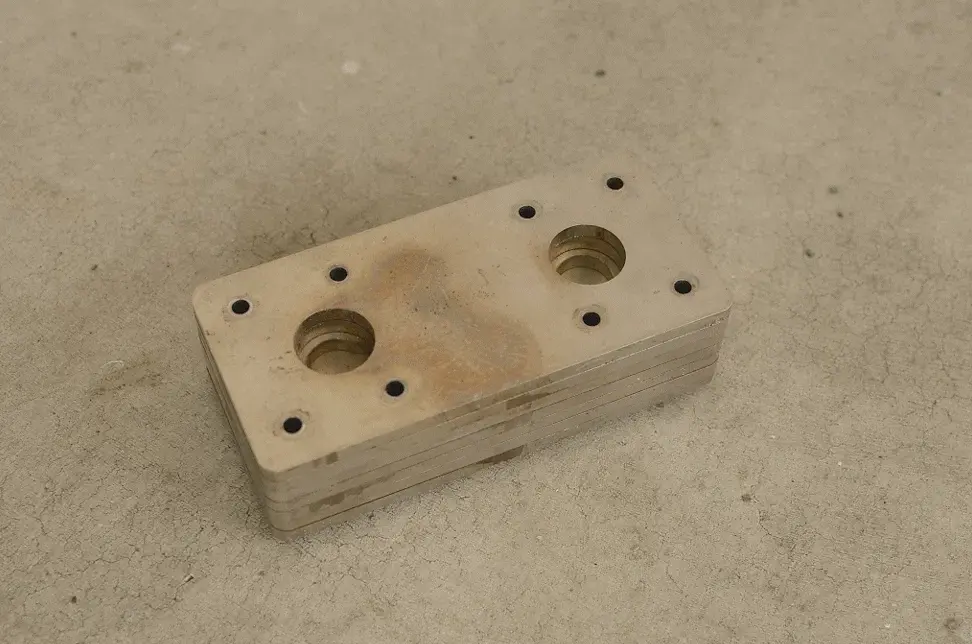
The idea was to pour aluminium in one of the holes in the top until the aluminium became visible at the exit hole. The image below shows the mould bolted together.

The first problem was that as heat was lost to the mould, the aluminium would solidify inside the sprue and cause a blockage. To try and solve this, I heated the mould up to roughly the same temperature as the aluminium and tried again. This time the aluminium made it part-way into the cavity, but still didn’t fill the hexagonal volume.
In a third attempt, instead of trying to pour aluminium into the cavity I melted the aluminium while it was inside the mould’s sprue. This approach still didn’t fill the cavity with aluminium; in fact the aluminium just pooled inside the sprue. My theory is that the surface tension of the molten aluminium was too high, preventing it from running down into the narrow channels of the mould. I decided that in order to make this work, a forced injection method would be required—beyond the scope of my experiment.